Countertop Installation in Riverside, CA
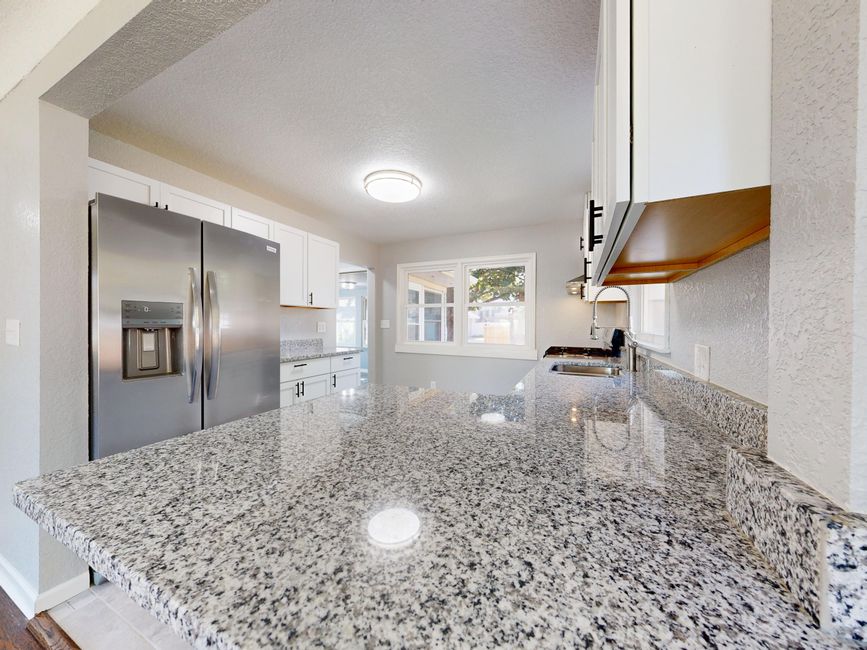
How custom countertop installation works in Riverside, CA, from template day to the final set, with notes on heat, wind and older houses.
What We Cover
- How Level Do Cabinets Need to Be Before a Countertop Goes On Why cabinet bases get checked for level before stone is set, and how crews shim older Riverside kitchens.
- How to Choose Countertop Work for an Older Riverside House What to ask about templating, demo of old tops, plumbing disconnects and wall condition in pre-war and mid-century homes.
- Does Riverside Heat and Santa Ana Wind Change Countertop Installation How summer heat, dry Santa Ana winds and dust affect adhesive cure, sealing and set day planning in Riverside.
- How Sink and Cooktop Cutouts Are Made in Stone Countertops What decides the size and position of an undermount sink cutout or cooktop opening and why reveals matter.
- What Happens on Countertop Template Day in Riverside How a template visit works in a Riverside kitchen, what the crew measures, and what the home needs ready beforehand.
- Where Do Countertop Seams Go in a Riverside Kitchen How seam placement is decided, why corners and sink cutouts matter, and how a good seam is joined on site.
Countertop Installation in Riverside, CA
Custom countertop installation in Riverside runs in a set order: template, fabrication, set, seal. A crew measures the kitchen with the real sink and cooktop on site, the stone is cut in the shop to those numbers, and the finished pieces are carried in and glued down on cabinets that have already been checked for level. Each step feeds the next, and a miss at the template shows up as a gap on set day.
Why Riverside kitchens need a careful template
Houses in Riverside County range from early plaster homes near the Mission Inn to mid-century tract houses in Jurupa Valley and newer builds on the edge of the Inland Empire. Walls bow, floors settle and cabinets drift out of level. A template that records the walls as they are lets the fabricator scribe the back edge to fit, plan the seam placement on a straight stretch of stone, and leave enough material at the front rail beside an undermount sink.
Stone, edges and cutouts
Granite, quartz, quartzite and marble each behave differently under a saw and under a hot afternoon. Quartz hides a seam well and needs no sealer. Marble and some granite want sealing after the set. Sink and cooktop openings get rounded inside corners so the stone does not crack, and the edge profile and overhang are confirmed on template day so nothing changes once the slab is cut.
Heat, wind and dust
Summer in Riverside is dry and hot, and Santa Ana winds carry dust that can ruin a wet seam. Adhesive sets faster in the heat, stone gets hard to carry across a sun-baked driveway, and sealer dries before it can be wiped. Sets are planned for the cooler part of the day, with doors closed on the wind side and the joint covered while it cures.
Guides
The pages here cover template day, cabinet level checks, seam placement, sink and cooktop cutouts, work in hot Inland Empire weather, and what to watch for in older Riverside houses. The posts go deeper on the steps between measure day and the final set.
Latest Guides
What Happens on Set Day When Stone Goes Onto Riverside Cabinets
2026-10-20
What happens first when the stone arrives at a Riverside house?
The first step is a walk of the route from the truck to the kitchen, done before any piece is lifted. Stone pieces for a kitchen weigh anywhere from one hundred to four hundred pounds each, so door widths, steps, a gate latch and a sprinkler head in the lawn all get checked. Pieces travel on edge on a carrying frame or an A-frame cart, never flat, because a flat slab bends under its own weight and snaps at its weakest point, which is nearly always a cutout.
The installer then holds every piece against the paper or laser template. Each piece carries a label with its position, and each gets dry-fitted to the cabinet run it belongs to. A piece cut a quarter inch short is far easier to find in the driveway than after the old top is gone and the plumber has left.
What does the crew do to the cabinets before the stone goes on?
The crew re-checks level, tightens loose boxes and lays a bead of silicone on the cabinet tops. Level was measured on template day, but cabinets move, especially in older Riverside kitchens where the floor has been settling for decades. A four-foot level goes across each run one more time, and any dip over an eighth of an inch is shimmed at the toe kick and screwed into the wall studs.
Dabs of silicone, not a continuous bead, hold the stone to the cabinet tops. Silicone stays flexible, which lets the wood and the stone move at different rates through a hot afternoon and a cool night. Construction adhesive that cures hard is avoided because it can crack a thin section the first time the box shifts.
In what order are the pieces set?
The longest straight run goes first, then the pieces that attach to it, and the island or peninsula last. The long run anchors every measurement that follows, and setting it first shows right away whether the walls match the template. Pieces that carry a sink cutout or a cooktop opening go in with extra hands, because the stone beside a cutout is the narrowest and most fragile part of the whole job.
Each piece is lowered, not slid. Sliding a heavy slab across the cabinet face chips the underside edge and drags silicone into the seam. Once a piece sits on its dabs, the crew checks it with a level in both directions and taps the high spots down with a rubber mallet.
| Stage | Typical time | What gets checked |
|---|---|---|
| Route walk and piece check | Thirty minutes | Pieces match labels and template |
| Cabinet level and shimming | Forty-five minutes | Dips over an eighth of an inch |
| Setting the long run | One hour | Level both ways, wall gap |
| Seams and corners | One to two hours | Flat joint, color match |
| Sink, faucet and cooktop | One hour | Reveal, clamp pressure |
| Cleanup and sealing | Forty-five minutes | Residue, sealer coverage |
How is a seam pulled tight on the day?
A seam is closed with seam setters, small suction cups with a screw that draws the two pieces together. Before the glue goes on, the crew wipes both polished edges with a solvent so no dust or oil sits in the joint. Adhesive tinted to the stone color goes on one edge, the second piece is brought up against it, and the setters pull the joint until the surface lines up flat to the touch.
A razor blade then scrapes the squeezed-out glue before it hardens. The goal is a joint no wider than a business card is thick, with no lip when a fingernail crosses it. A busy granite hides a seam well. A plain quartz in a pale color shows a joint more, which is why the shop lines up the veins and dots across the break when the slab is laid out.
How are the sink and cooktop fitted?
An undermount sink is clamped to the underside of the stone with brackets and a continuous line of silicone, then left to cure while the rest of the job continues. The bowl has to be physically in the kitchen for this step, since the cutout was drawn from it. A drop-in cooktop sits in its opening on a bed of silicone, supported on all four sides by the cabinet below.
The faucet holes were drilled at the shop to the spacing of the faucet on site. If the faucet on hand changed after template day, the holes may not match, and fixing that means taking the piece back to the shop. This is why fixtures are chosen and delivered before the templater arrives.
What happens at the walls and the backsplash?
The back edge of the stone is scribed to the wall, and any gap that remains gets a bead of color-matched caulk. Walls in houses near Mount Rubidoux and the older blocks of downtown Riverside run out of square, so a straight slab leaves a thin wedge of space. The fabricator grinds the back edge to follow the wall line, and the caulk closes the last sixteenth of an inch.
A low stone upstand or a full-height backsplash goes on after the main pieces and is glued in place with the same silicone used under the top. Tile backsplashes wait until the stone is in, since the tile setter needs the real countertop surface to measure against.
Why does sealing come last?
Sealer goes on after the glue and the silicone have cured, because wet adhesive and sealer do not mix. Marble, soapstone and many granites are porous and get a penetrating sealer wiped on and buffed off. Quartz is nonporous and needs none. In the dry heat of Riverside County, sealer flashes off quickly, so the crew works in small sections and wipes each one before it dulls.
The surface then stays dry. Water on a fresh sealer coat can leave a ghost mark, and a hot pot set down too early can scorch the finish. Most crews ask that the sink stay unused for a day while the silicone under the bowl finishes curing.
What should the homeowner clear out for set day?
The cabinet tops, the floor around them and a path from the front door all need to be empty. Dishes, small appliances and anything stored in the sink base cabinet come out the day before. Pets and children stay out of the work area, since a 300-pound piece moving through a hallway has no room to dodge.
A second clear path matters just as much: the route for the dust. Most cutting happens at the shop, but a final trim or a corner polish sometimes needs a hand tool in the kitchen. Plastic over the doorways of nearby rooms keeps fine dust out of the rest of the house, and in a season of Santa Ana winds the front door stays closed unless pieces are passing through.
How long before the kitchen is usable?
The kitchen is usable the same evening for dry work, and the sink is usable the next day. The countertop itself bears normal weight as soon as the pieces are down and the seams have started to set. Plumbing reconnects once the silicone under the sink has cured, and the gas or electric cooktop is connected last by a licensed trade. A kitchen that follows this sequence is typically back to full use within two days of the set.
Why Stone Countertops Crack, Gap or Lift After Installation in Riverside
2026-10-20
Why do some stone countertops crack after installation?
Most cracks trace back to an unsupported span, a sharp inside corner at a cutout, or cabinets that were not level when the stone went down. Stone is hard but brittle. It carries weight well when it is supported evenly along its length and fails quickly when it bridges a gap or takes a point load on a thin section. A crack that shows up weeks after a set was almost always set up on installation day.
The fix is prevention, since a cracked piece of granite or quartz is usually replaced rather than repaired. That puts the weight on the template visit and the cabinet checks, the two steps where the problem can still be removed cheaply.
Where do hairline cracks start?
They start at the inside corners of the sink and cooktop cutouts. A square corner concentrates every bit of stress into a single point, and a slab flexing a hair under a heavy pot will open a crack from that point in a matter of months. A corner cut with a rounded radius spreads the same force across a wider arc and survives.
The strip of stone in front of an undermount sink matters just as much. Called the front rail, it can be as narrow as two inches on a large single-bowl sink in a standard cabinet. A rail that thin is a lever, and a person leaning on it while loading the dishwasher can snap it. Fabricators bond a steel rod into the underside of the rail to prevent that.
Can a countertop crack from heat?
Yes, but the cause is a sudden change in temperature, not the heat of a Riverside summer. Setting a pot straight off the burner onto stone creates a hot spot, and the surrounding stone stays cool, so the material expands unevenly. Granite and quartzite take this better than most materials. Quartz made with resin can scorch or leave a pale ring. Marble can etch and mark from the pot itself.
Direct sun is a smaller risk. A kitchen window facing west in Jurupa Valley can put a patch of afternoon light across a counter for hours, and that warmth is gentle enough for any stone. A heat trivet under every hot pan solves the problem for good.
Why does a gap appear between the stone and the wall?
A gap appears when the wall is not straight and the back edge of the stone was not scribed to follow it. A straight slab against a curved wall leaves a wedge of open space that is thin at one end and thick at the other. Older plaster walls near the Mission Inn and around downtown Riverside are the usual culprits, and so are mid-century stucco houses where the interior wall was framed slightly out of square.
A small gap is filled with a bead of caulk tinted to the stone color. A larger gap needs the back edge ground to the wall line, which is done at the shop from the template. A backsplash set over the caulk line hides the last of it. The caulk bead is expected to move a little with the seasons, and a slender line of it at the wall does not mean the install failed.
What causes a seam to open or turn dark?
A seam opens when the cabinets under it move, and it darkens when dirt settles into a joint that was not filled flush. Cabinets move when the floor beneath them is uneven, when the box was never fastened to the wall, or when a dishwasher or a heavy appliance pushes on the frame. A seam over a loose box flexes each time someone presses on the counter.
Quality work avoids both by placing the seam over a solid support and by filling the joint completely. Adhesive that is mixed wrong or applied to a dusty edge leaves tiny voids, and those voids trap grease and crumbs. On a pale quartz the dirt reads as a gray line. Cleaning with a soft brush and a mild soap helps, but a joint that stays open is a sign of movement in the cabinet below.
Why would the surface feel uneven at a seam?
An uneven feel at a seam is called lippage, and it comes from one piece sitting a hair higher than the next. The cause is a cabinet run that is not flat, so one piece sits on a high spot while its neighbor sits on a low one. The installer uses shims to bring the pieces level before the glue sets, and a straightedge across the joint shows any step.
Once the adhesive cures, lippage cannot be fixed without grinding, which dulls the finish. Catching it at set time is the only clean solution. A crew that checks every seam with a straightedge before the adhesive hardens rarely leaves a step.
What problems come from fixtures that changed late?
A late change to the sink, faucet or cooktop is the most common cause of a piece going back to the shop. The cutout is made from the fixture on hand, so a different bowl rarely fits the same opening. Faucet holes are drilled to the exact spacing of the faucet, and a swap to a different style may need a new hole pattern.
A piece that has to be recut loses time and sometimes loses the section of slab it came from. Settling every fixture choice before the templater visits avoids that outcome. The pieces then arrive at set day with openings that match the hardware without any grinding in the kitchen.
How does Riverside weather add to these risks?
Dry heat and wind add stress to adhesives and finishes but rarely cause a failure on their own. In summer, seam glue sets faster than the label suggests, and Santa Ana winds can carry dust into a wet joint. Both are managed by planning the set for a cooler part of the day, keeping the doors closed on the windy side and covering the seam while it cures.
Winter brings a different pattern. Cool nights drop the temperature of a kitchen near the Santa Ana River by twenty degrees or more from the afternoon high, and a house on a raised wood floor moves with that cycle. The silicone under the stone is meant to absorb that movement. A hard glue under the whole piece would not, and that is another reason crews use dabs of flexible silicone.
What can a homeowner check in the first month?
Look at each seam, each corner of the sink cutout and the line along the wall, and press lightly on the stone beside the sink. A flat seam, a crack-free corner and a quiet surface mean the install is sound. A hairline at a corner, a seam that catches a fingernail or a gap that widens are worth noting with a photo and a date so the installer can see how the problem developed.
Most issues that appear show up in the first few weeks, while the silicone and adhesive finish curing and the cabinets take the full weight of the stone. A countertop that gets through that first month without a change usually stays that way for decades.